How To Meal Prep Green Beans (Complete Procedure!)
Meal preparation has quickly become one of the most popular ways to save time, shed pounds, and cut costs on groceries.
The process has become so well-known that several companies even offer their own meal prep options to make your three square meals a much simpler chore.
Of the several fruits, veggies, proteins, and starches available, few foods are more delicious than a well-made row of green beans!
Contrary to what you might believe, preparing green beans for the week isn’t any more complicated than searing a couple of pounds of chicken breasts. In fact, it’s so simple that many people consistently use it as a side for how quickly this delicious vegetable is ready to eat!
After a quick scan of this article, you will be more than ready to throw green beans into as many meals as you can stomach!

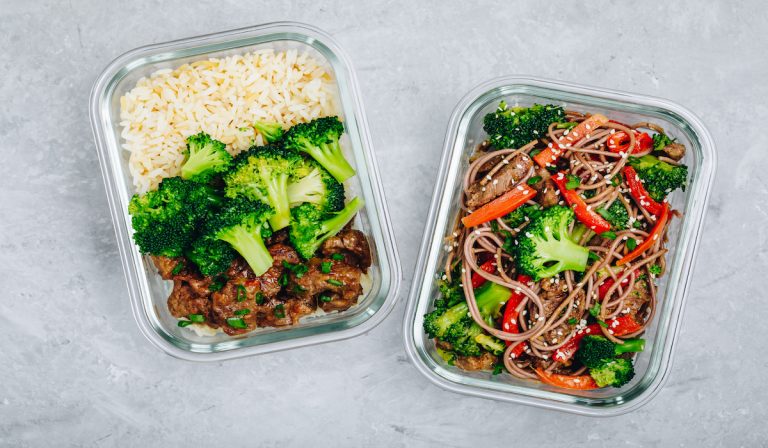
How to Store Green Beans
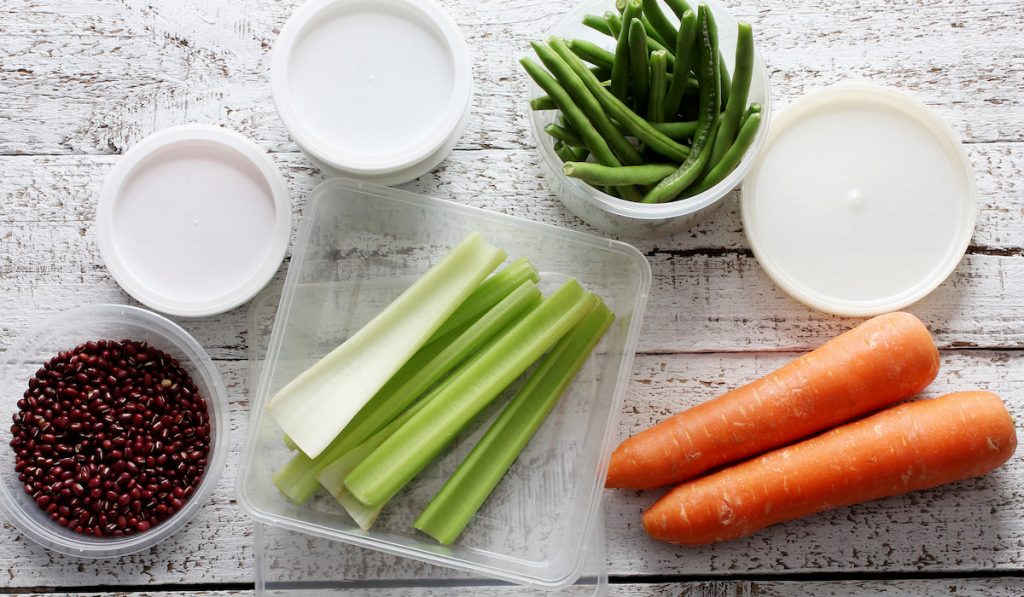
Container brands have gotten wise to the needs of the preoccupied preppers of the world, offering several different containers that will fit your needs perfectly.
To give you a better idea of which containers can help you when you are sauteing your green beans, we will briefly cover the several different types of containers you can utilize.
When purchasing any of these products, please keep in mind that airtight lids are essential to preserving the freshness of the food.
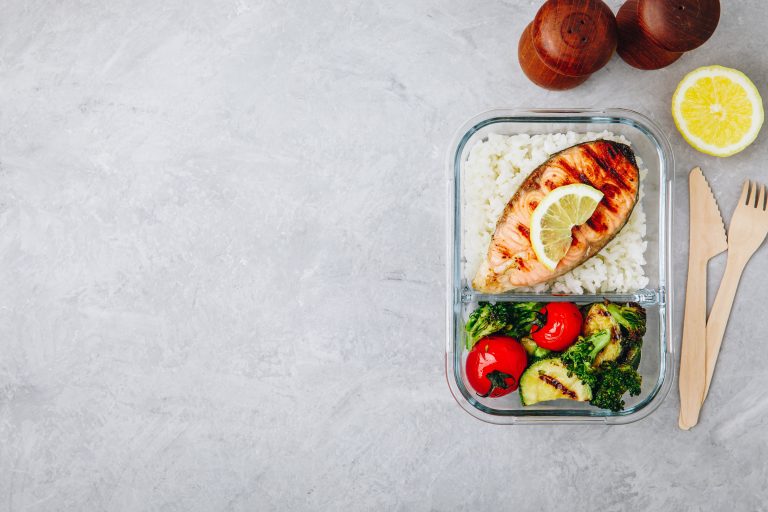
Glass Containers
Glass will likely cost you more money than other alternatives, but it does come with its advantages.
Outside of the fact that this material is aesthetically pleasing and shows you every inch of what is in each prep container (which allows for a bit of variety), it also will reheat your food far more evenly in the microwave than its fellow container alternatives.
When purchasing glass containers, check that they are microwavable, freezer-friendly, and oven safe.
Bulk Microwaveable Plastic Containers
Plastic is a far cheaper option than glass. There is nothing wrong with buying a bunch of microwave-friendly plastic containers, and you will also save more money.
When purchasing these containers, try to find packs of 10 or more to have a few extra. You never know when you need to make a few impromptu lunches.
Mason Jars
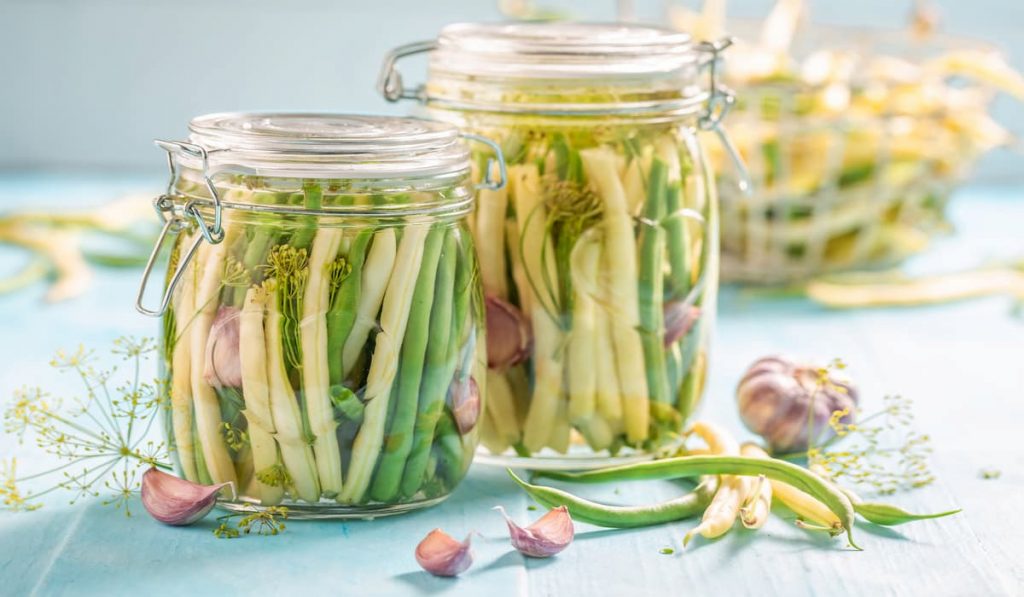
For those who have a large number of mason jars on standby and don’t want to needlessly spend money on more containers, mason jars work great for storing green beans!
You are welcome to use other glass jars, just be aware they have a chance of cracking with temperature shifts.
The biggest concern with glass is that you could choose glass that cannot handle extreme temperatures. Thus, tempered or borosilicate glass is highly recommended.
Preparing Green Beans
The type of green beans you get, fresh, frozen, or canned, really makes a difference in how you will need to prepare them before they are cooked.
Obviously, learning to preserve your green beans is unnecessary for those who wish to throw a bag of frozen green beans in the freezer or cans in the pantry.
But for those who enjoy the fresh taste of green beans in the produce aisle, there are ways to make these delicious vegetables last far longer before you cook them.

Preserving Uncooked Green Beans
So you bought yourself enough green beans to last a week or two, but you want to make sure they stay fresh until you decide to throw them into your weekly meals.
All you will need for this process is:
- a reasonably honed knife
- containers or Ziploc bags
- one large bowl for the green beans to sit in
- a saucepan
- your nearest freezer
To start, you will want to fetch a few green beans and sort them out in a row, with the stems sitting evenly across the line of vegetables. Then with your knife, slice off the stems and toss them out.
You may notice a somewhat resilient string running through the green beans. Peel this out and discard it with the stems.
Blanch the Beans
What you are going to do now is commonly known as blanching. You will need to fill the saucepan with water and heat the water until it is boiling.
You will also need to fill that large bowl with ice-cold water; it is strongly recommended you add ice to this bowl as well.
Now, once the saucepan water is boiling, you will want to toss in your green beans.
This process could take anywhere from 2 to 4 minutes, depending on the size of your green beans, with bigger ones requiring longer submersion times.
Once the recommended time has passed, transfer the green beans over to the ice water bowl and leave them there until they have chilled completely. When this process is complete, you are ready to store them.
You can store these uncooked green beans in a container or a sealable bag, but if you use a sealable bag, try to squeeze as much air out as possible.
Unless you have an eidetic memory, it helps to label the date you blanched the beans to know exactly how old the vegetables are. Then put them in the freezer.
Your blanched green beans should keep for up to a year!
Cooking Green Beans
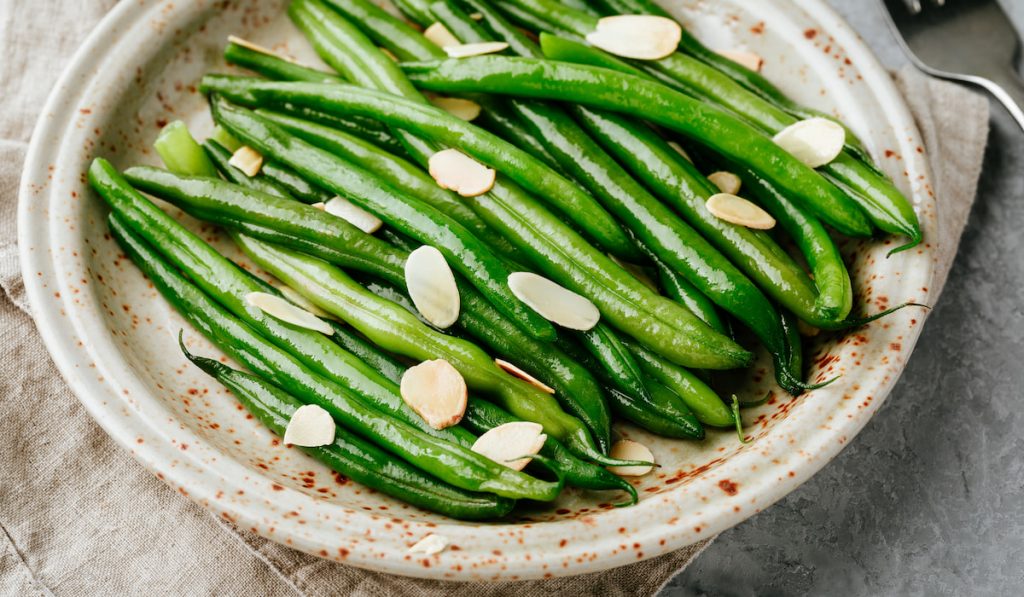
My favorite way to cook green beans is to saute them in a pan with a small amount of oil and garlic. This allows the green beans to cook through but still offers a pleasing crunch with each bite and infuses some wonderful flavor.
There are countless ways to cook green beans and even more recipes, so if this method doesn’t appeal to you, you can find a myriad of alternatives online.
If you have blanched the beans ahead of time, you can jump straight to the cooking process below. If not, you will need to rinse the vegetables and remove their ends.
What you will need:
- 1 lb green beans
- salt
- pepper
- 2 garlic cloves (very finely diced)
- half a cup of water
- your choice of cooking oil
- You will want to get a large skillet and throw in a tablespoon of your favorite oil (canola, olive, avocado, etc.).
- Turn the heat to medium-high, and wait for the pan to give off a light sizzle.
- Toss in your green beans (up to a pound) and allow them to cook for six minutes while continuously stirring them. Don’t forget to flip the green beans occasionally.
- Add in your seasonings of salt, pepper, and proficiently diced garlic. Let the garlic cook for about half a minute.
- Pour in half a cup of water and put a lid or top on the pan to allow the green beans to steam. Do this for two minutes before serving.
These cooked beans can be stored in your fridge for five days, though most people tend to prep these twice a week to make sure they get the whole week covered.
Conclusion
Green beans are a side dish most of us were familiar with before we could walk. This delicious side to any great meal is not only simple to make but cheap to purchase and very healthy!
The next time you are looking for a vegetable to throw in with your next meal, get a pound of green beans!