Can You Meal Prep Fish? (5 Ways You Can)
One of the best sources of protein and healthiest choices of food is fish.
Salmon, tuna, cod, and tilapia are all excellent choices for a meal. They are simple to make, filled with more vitamins than you could list on one hand, and unbelievably delicious.
So, now that I’ve stopped gushing about one of my favorite foods, can you meal prep fish throughout the month?
You can meal prep fish. Fish is an exceptional choice of meat for those looking to plan out their meals for the next few days.
If you want to get in touch with your inner chef and try out a few new exciting meals, keep reading! We will go over five fantastic ways to prep your fish of choice to enjoy throughout your next work week.
Five Ways to Prep Fish
According to the USDA, when it comes to prepping fish, you should keep cooked fish in the fridge no longer than three days maximum. If you plan to cook fish (or most things) in your meal prep, you should be aware that you will have to do it twice a week.
Typically, people will cook on the weekend and then sometime in the middle of the week, and they will freeze the portions they are going to use for the midweek prep to make sure it stays fresh.
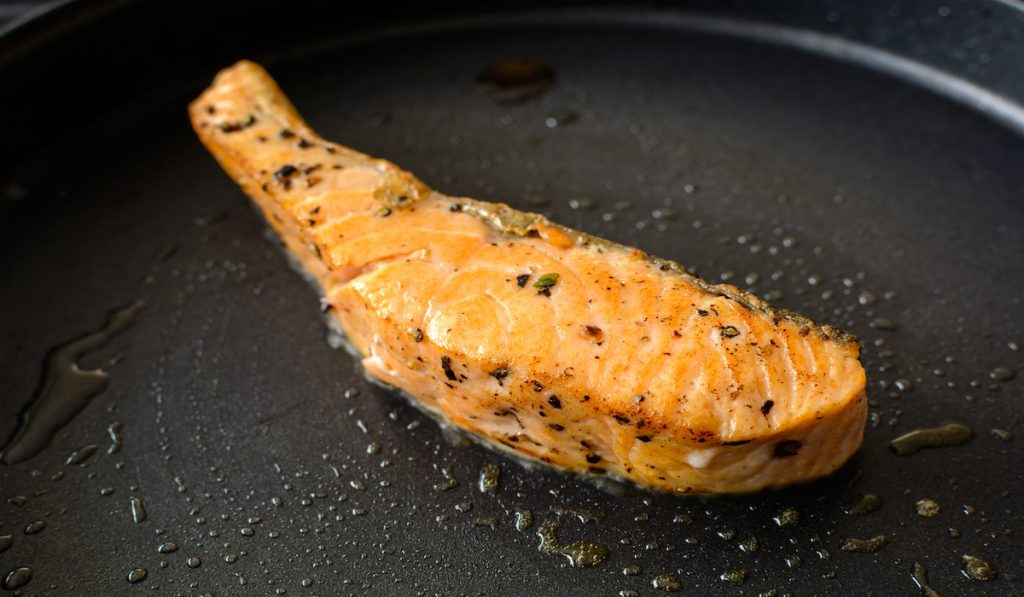
1. Saute It in a Pan
If you want my personal opinion, there is no better way to cook food than with a good sear.
Fish is an excellent example of why and is notoriously delicious cooked in a pan with a few seasonings on top.
While most recipes you find online will boast that flour is necessary for pan-frying, you certainly don’t have to include it if you are trying to avoid flour or suffer from a gluten allergy.
How to Pan-Fry Fish
Throw a bit of butter or oil into a pan until it has a very light coat across the surface. Then while it heats up, you can batter your fish if you choose to or season it.
When the pan has heated, but the butter isn’t crackling, go ahead and place your fish inside and allow it to cook uninterrupted for about 4 minutes for every inch of thickness it is, maybe 5 minutes if you are cooking at a lower intensity.
Flip the fish to its opposite side and repeat the process of leaving it alone for a few minutes.
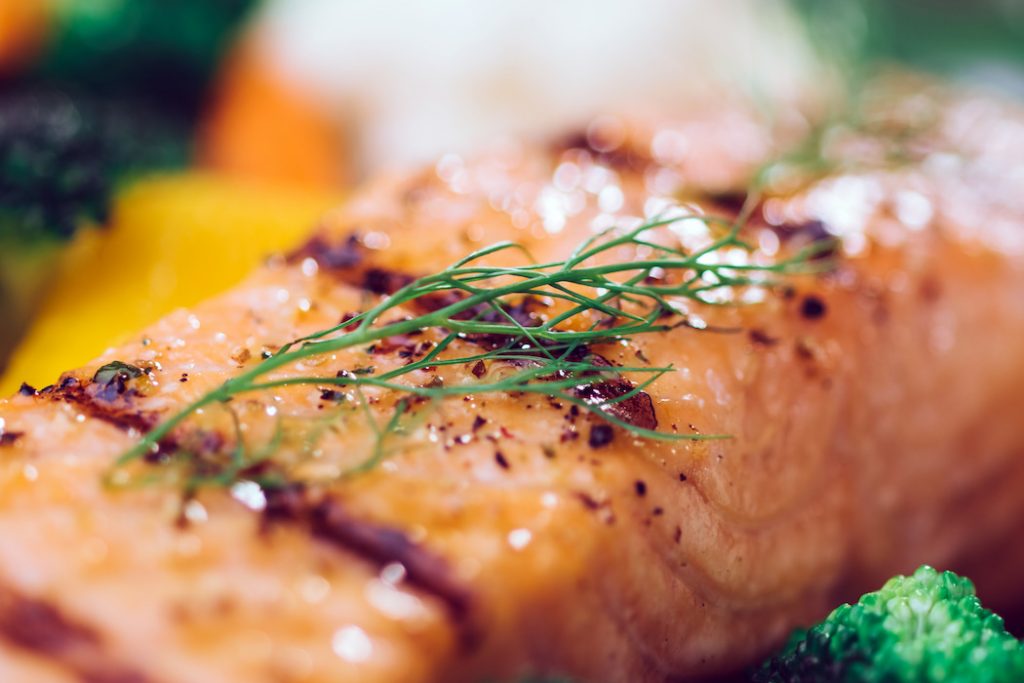
2. Use a Grill on Those Gills
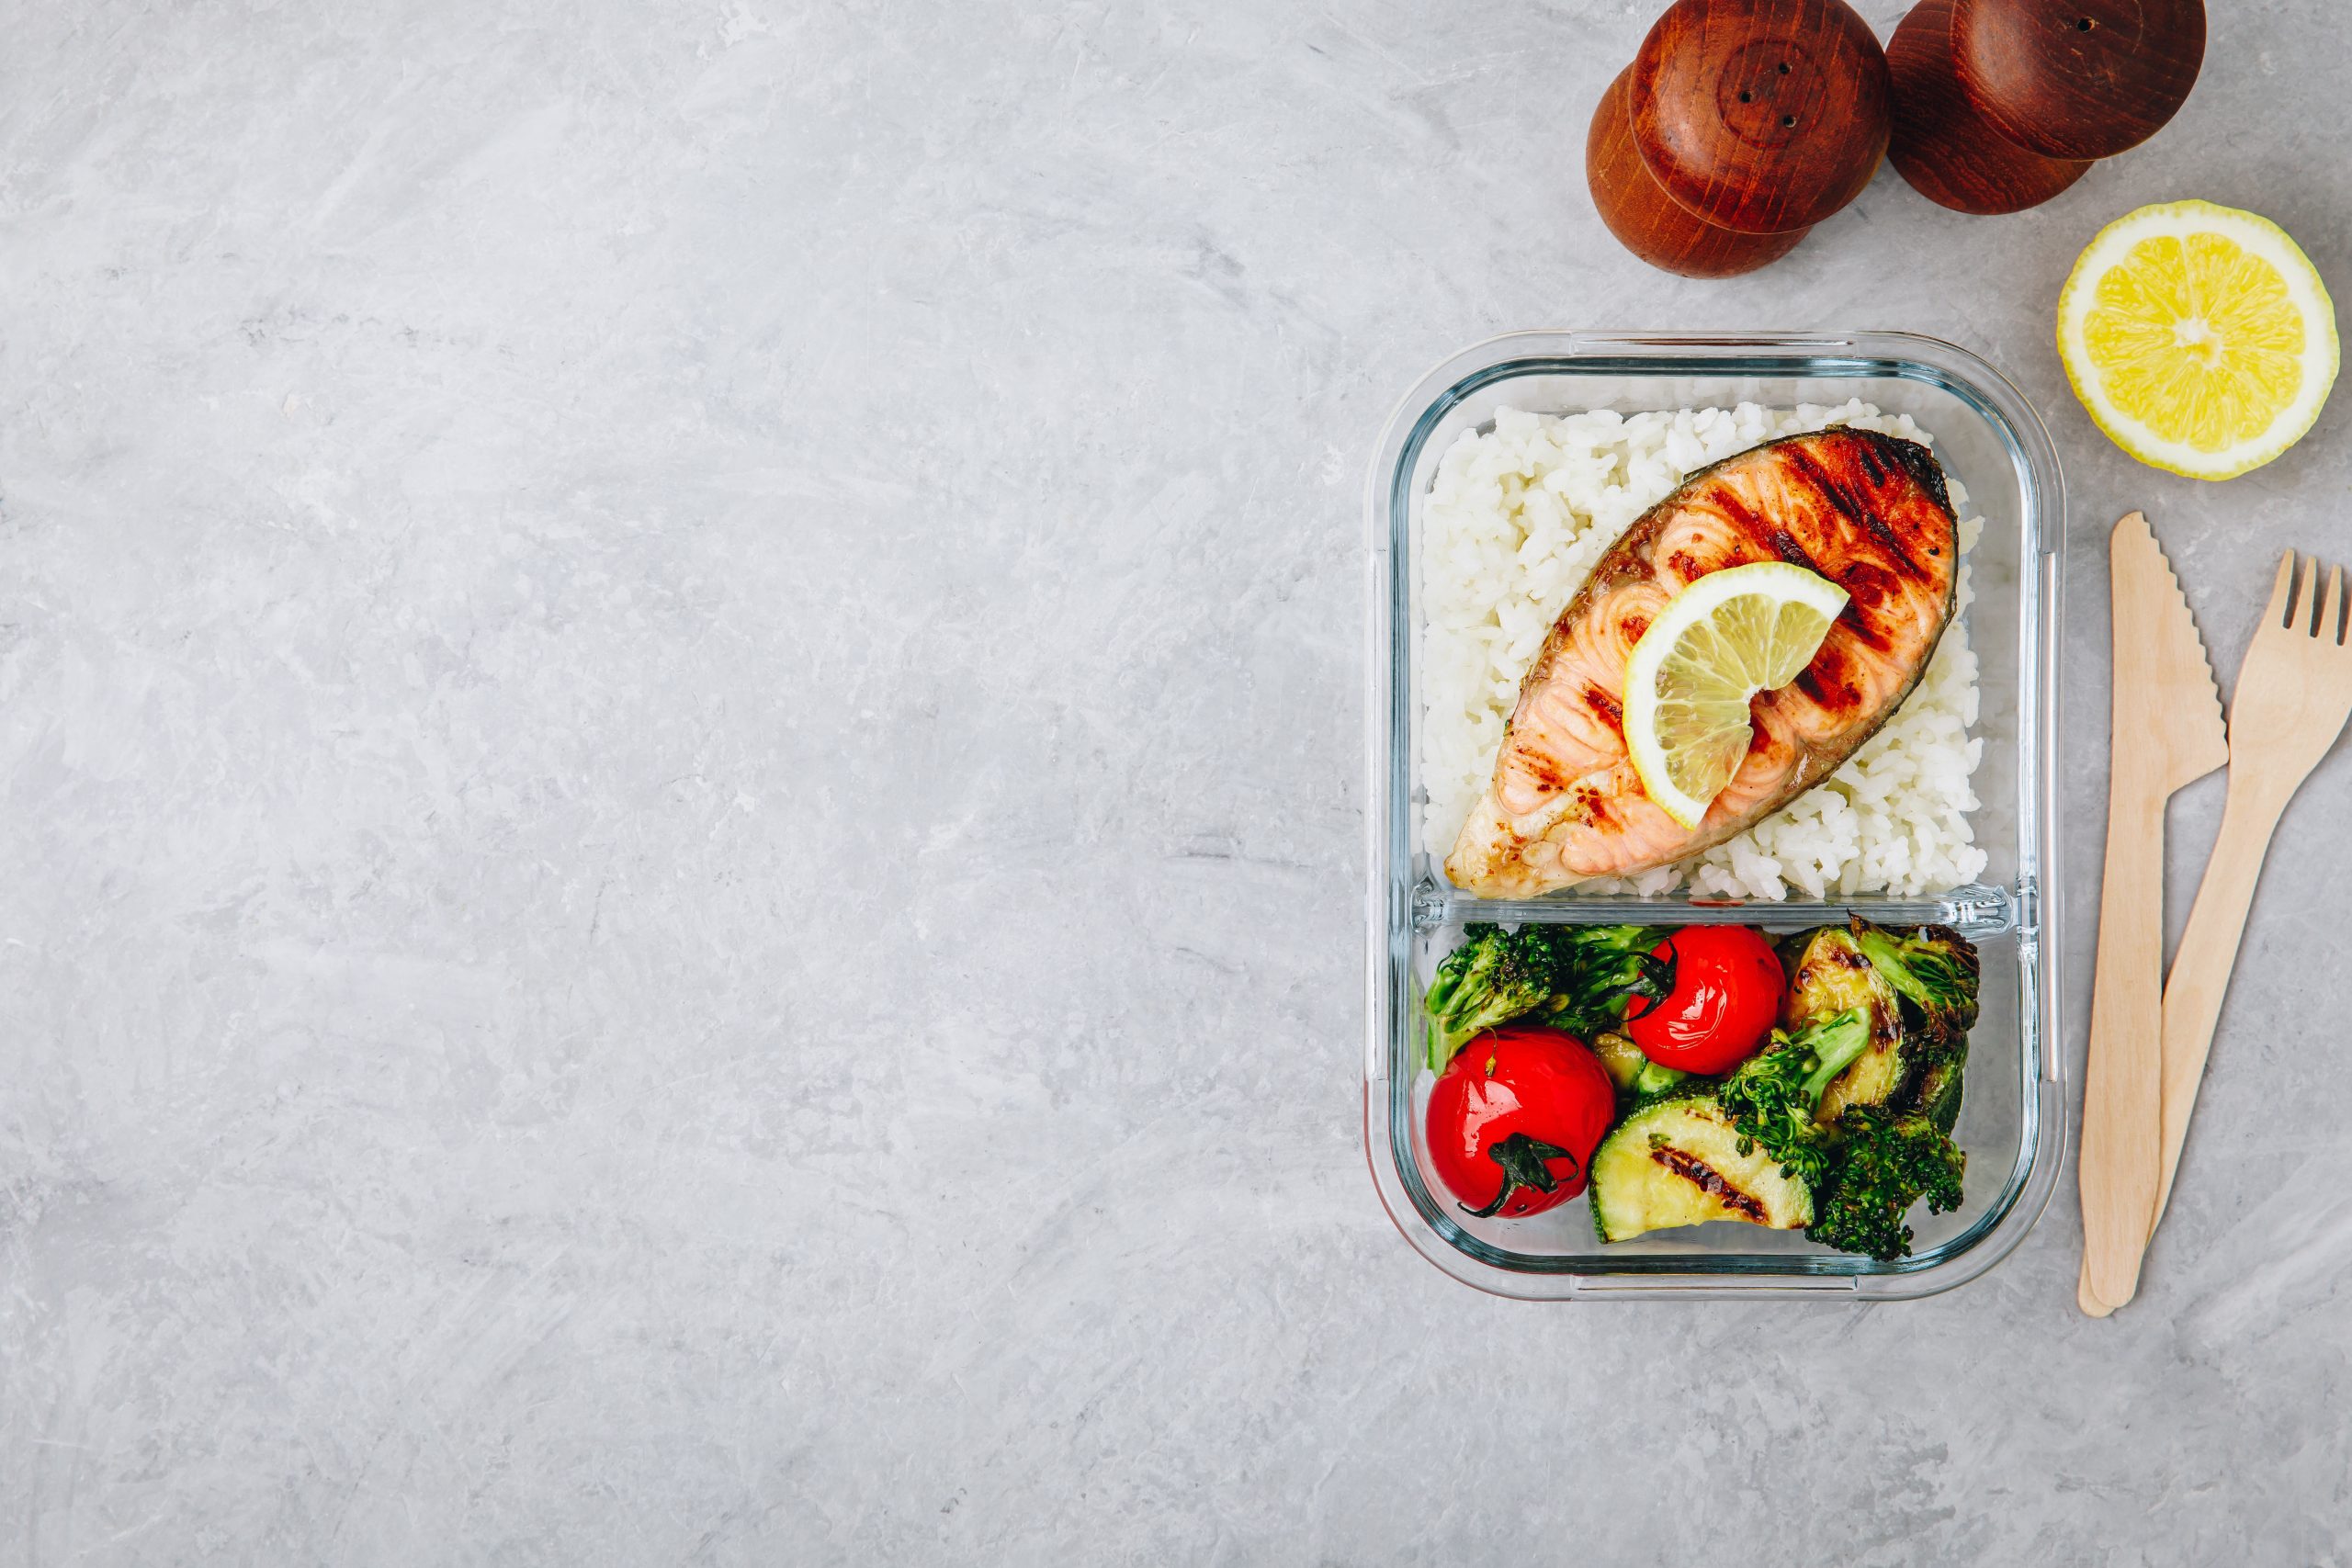
Few things look more delicious than a good set of grill lines on well-cooked food.
If you want to spend a little time outside in the warmer months, so you don’t heat up your house, this can be a valuable way to avoid using the oven.
While grilling may feel overwhelming for those new to the fantastic outdoor activity, you are more than capable of cooking fish even if you are a beginner!
How to Grill Fish
You will want to turn your grill on high to make sure that you prevent the fish from sticking onto the grill grate later on in the process.
Give it a decent amount of time to warm up. The preheating process will play a massive part in how the fish turns out later.
If your grill has a thermometer (if not, they can be found online for as little as eight dollars), try to keep the temperature inside between 400°F to around 450°F.
Make sure you give your grate a good scrub down before and after grilling to make sure that your grill parts last longer and your food doesn’t stick to it or incorporate the taste of last week’s food.
While the grill is warming up, you should allow your fish to sit outside the fridge for a few minutes to bring it up to a more reasonable temperature while also seasoning it if you wish to.
Call me simple, but I’ve always enjoyed the holy trio of garlic, dill, and lemon juice.
When your grill and fish are at a sufficient level of heat, place the fish on the grate for 4 minutes for every inch of thickness or until you feel the fish is sufficiently cooked.
When you are satisfied, flip the fish, repeat the searing process, and enjoy!
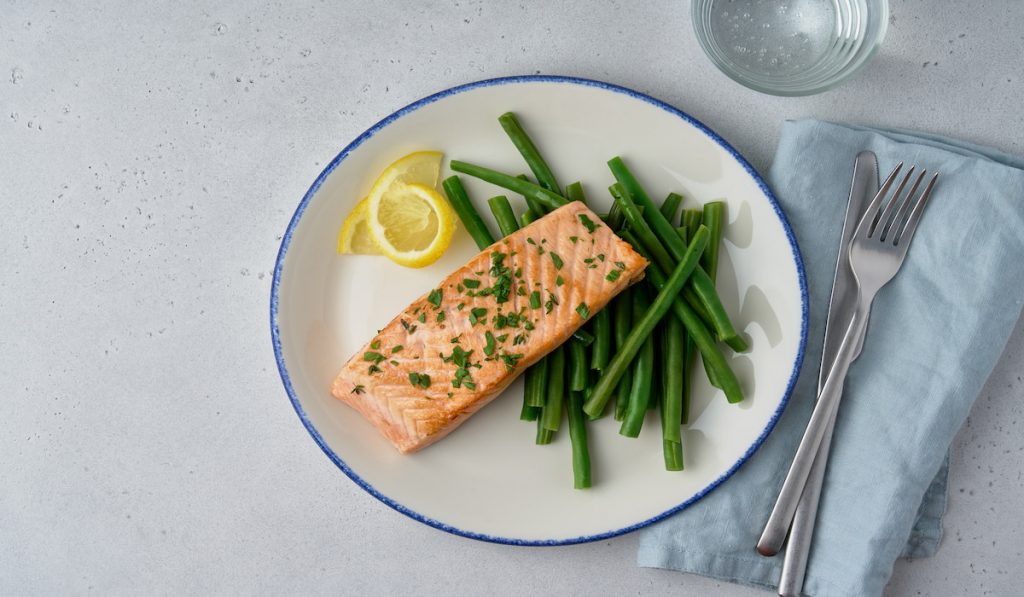
3. Return the Fish to Water and Poach It
For those who want to bring out the subtle flavors that are easily overpowered in fish, then you may want to try poaching your aquatic afternoon meal.
This method is done by submerging your fish into a pot of water, wine, or whatever you choose to dunk it in, and lightly cooking it to gentle, delicious perfection.
How to Poach Fish
The only extra tool you will need for this method is a thermometer that can read the temperature of the liquid you are cooking with.
It is very important that you don’t make the liquid too hot, as this will dry out the fish and even singe it.
The best temperature to keep your water or wine at is 140°F. This temperature ensures that you don’t burn your fish.
You will want to make sure the liquid fully covers the fish, but you can stop adding liquid once it’s fully submerged. You can throw in whatever seasonings, toppings, or additions you want right into the liquid, to cook into the fish.
You will know when the fish is fully cooked when it matches the temperature of the cooking liquid.
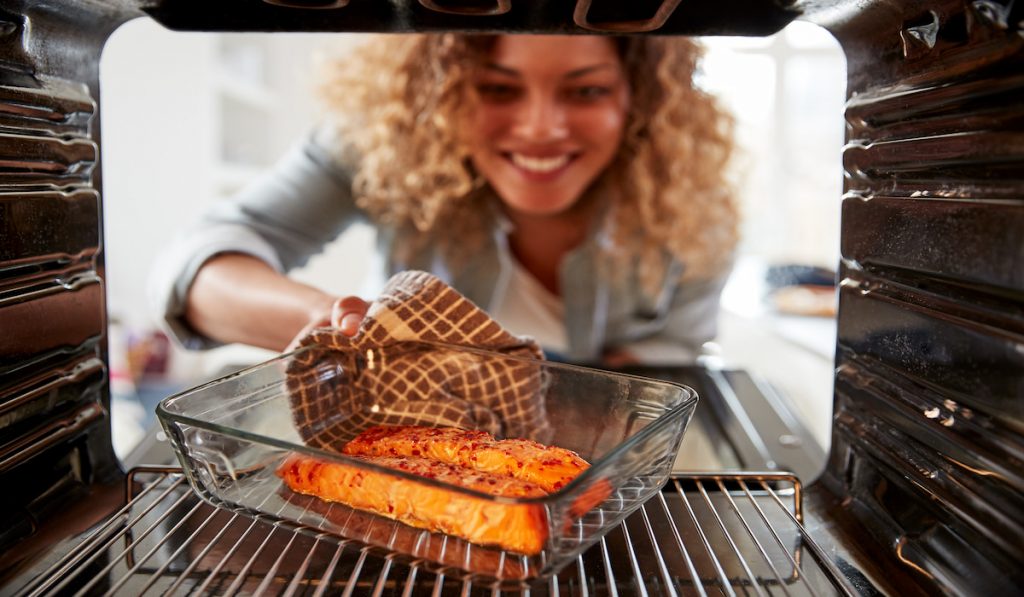
4. Reel It in the Oven
Baked fish is one of the easier meals you can make, and it comes out tasting like you have been perfecting it for years.
With as little as a baking sheet, some cooking spray, and a few choice seasonings, you can have a delicious meal that can be eaten as-is or can also be thrown on rice, into a salad, and much more!
How to Bake Fish
The popular choice for baking fish is the universally copacetic temperature of 450°F.
While the oven is warming up, feel free to spray cooking oil on your baking sheet to ensure that your fish won’t be glued onto it when you pull it from the oven.
Place the fish in a single layer across the baking sheet, ensuring there’s a bit of space between each fillet.
Toss whatever seasonings you prefer on the fish, and express yourself with the nearest spice rack.
For each inch of thickness of your fillets, full-bodied fish, or fish fingers, allow about 10 minutes in the oven or until you are satisfied.
From personal experience, I recommend removing the fish from the pan with a long, thin, firm spatula to make sure the fish doesn’t fall apart as you are trying to portion your meals.
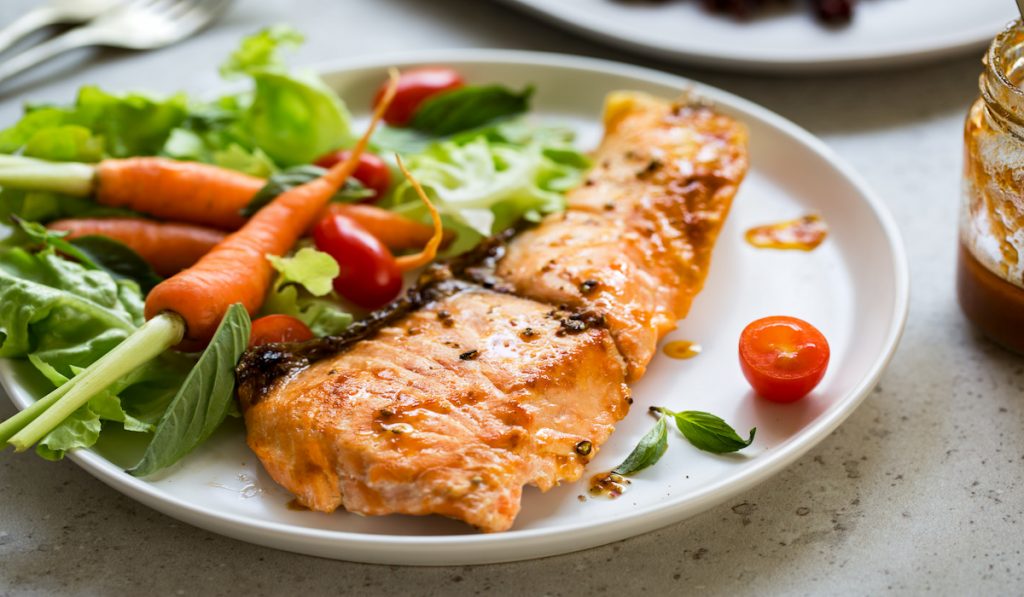
5. Broil With Some Oil
This is an excellent method for those of us who are trying to stay warm without selling our car to pay the heating bill in the winter.
You want to look for a baking sheet with a decent-sized, rimmed perimeter on it, as there will be a thin layer of liquid across the bottom of the sheet throughout the cooking process.
How to Broil Fish
To start, place some aluminum foil over your baking sheet until the top of it is completely covered.
You should make sure your fish is dry and seasoned before you lather the fish in oil or butter, especially underneath where it touches the pan. This is important, as failing to oil the underside will mean that the fish will stick to the pan later.
Set the oven to “broil” and allow the oven to reach the full temperature. Keeping the oven slightly ajar and on broil, cook your fish for about 5 to 7 minutes on the middle rack.
While it is cooking, your oven door should be slightly open to allow the oven to continue broiling, and you can enjoy these precious moments of free heating.
For most fillets, you won’t need to flip the fish, as this method should cook it through without having to expose both sides.
Serve it on a bed of whatever you enjoy, and dig in!
Conclusion
There is no shortage of fish recipes on the internet. I found close to triple digits while doing research for this article.
The fun in cooking, however, is experimentation. Once you learn the basics of the different ways you can cook something, that is when you can start to get creative with your prepped food!
